.jpeg)
.png)
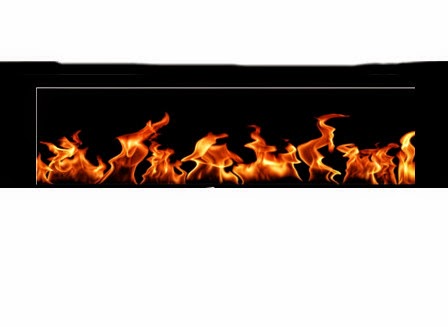
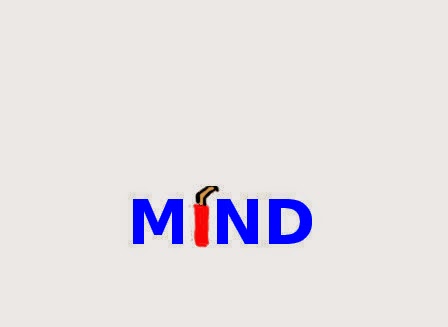
These are the first 2 images created using GIMP (Ver 2.8.10) with integrated GPS (Ver 2.0); both are freeware. Familiarity with Adobe Photoshop will help reduce the steep learning curve. Understanding the concept of layering an image and exploring the tools available, with the help of tutorials available on YouTube, will take a couple of days to get use to the software. It has taken me 4 to 5 days to learn, understand and use, probably, less than 10% of all the available tools to create the images above.
These images came to mind after reading news and watching videos relating to senseless violence on innocent people. Since learning a new software is always taunting, I started to learn the software to create the simple image I had in mind while exploring the software for tools to create and enhance the image.
Example: The basic layers or 'transparencies' are shown below:


About GIMP and GPS.


GIMP (GNU Image Manipulation Program) is a graphics editor used for image retouching and editing, free-form drawing, resizing, cropping, photo-montages, converting between different image formats, and more specialized tasks. GIMP is released under LGPLv3 and GPLv3+ licenses and is available for Linux, OS X, and Windows. - Source Wiki
For those interested in GIMP's history, click here.
GPS is a collection of brushes and accompanying tool presets. Tool presets are a simply saved tool options, highly useful feature of the GIMP.The goal of GPS is to provide an adequate working environment for graphic designers and artists to begin to paint and feel comfortable with GIMP from their first use. Later the user will change these settings based on his own workflow preferences and understanding of GIMP. GPS is only a starting point for presets and brushes and is intended to highlight the expansive flexibility of GIMP. It is also intended as a way to learn from and share with each other within the GIMP community. That is why GPS comes with the Creative Commons license. - Source Wiki