.jpeg) |
| Image 4 (Final) |
This tutorial is for Beginners to learn how to use the tools on GIMP.
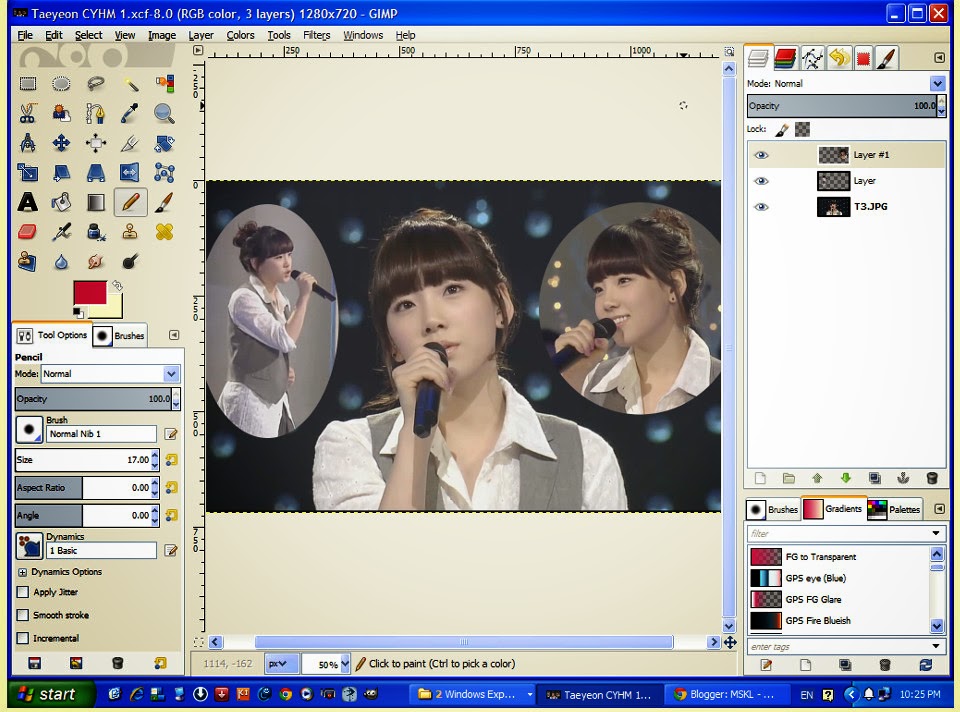 |
| For illustration only |
1. For simplicity, open 3 images file in GIMP. You will see 3 tabs at the top (the figure above is used show the location of tools and for illustration purposes only). You can also open the images as layers for the procedure below, but then, if you are familiar with layering then this tutorial is probably NOT for you.
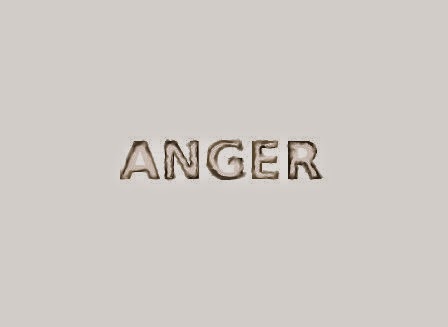
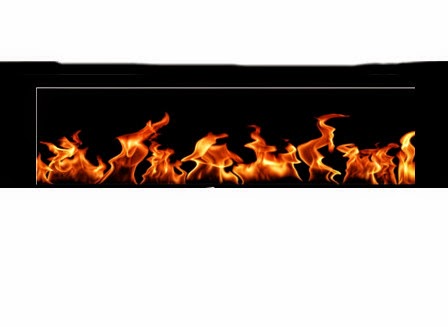
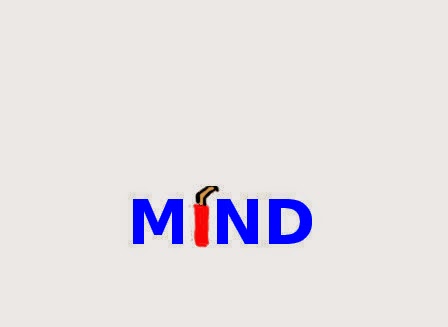
2. Use the Eclipse Select Tool to select the image to cut on Image 1. After selecting cut, select Image 3 and paste in to Image 3. A temporary layer will appear the top of the Layer tab on the right. With the cut image still highlighted, use the Scale Tool to resize and Move Tool to align the image. Once you are done, remember to Anchor the floating layer (next to Delete Layer on the Layer tab on the left). This will immediate make the cut image become a part of Image 3.
 |
| Image 1 |
2. Use the same method on Image 2. You can now close Image 1 but do not save the file, since you already cut a hole in it. The original will remain the same.
 |
| Image 2 |
 |
| Image 3 |
3. After you have completed step 1 and 2, you have to save your working file with the default extension .xcf if you want to use it in the future. Without closing your working file, go to File menu and select Export As to export your file to the various format available on GIMP, ie jpeg, png, bmp, etc.
4. Please note that Image 3 has been 'cleaned up' or 'photoshopped' using GIMP before it was used for this editing exercise. Notice that the logo on the top right hand corner of Image 3 is missing in the final Image 4.
I hope this is helpful for those who have just started to learn GIMP or Adobe Photoshop.
~ 2 June 2014 ~
Other edited images (before and after):-
Name of the Tool will appear by hovering the mouse over the tool icon in the Toolbox at the top left hand corner.
In the image (before) below, the logos on the top left and right hand corner were removed using the Ink Picker Tool to select the colour nearest object, then the Airbrush Tool to paint over the logos and finally the Smudge Tool to blend/blur the erased part.
.jpg) |
| Before |
).png) |
| After |
.
The image below was edited using 2 layers, also to avoid making changes on the original. The first layer is copy of the original image sitting on top of the original; this is done so that I can always refer to original below for reference on the part that I need to edit or repaint or 'photoshop'. The tools used in this practice were the Ink Picker Tool and Airbrush Tool to edit the clouds, reflection in the water and overexposed portion on the building and water on the left side of the image.
The image of the moon is added as a second layer, placed on top of the edited first layer since I only need the moon and part of its blue background for reference only. With opacity (Transparency) set at default 100%, use the Eraser Tool to erase everything on this layer (top layer with moon image) that is not required to expose the layer below so that only the moon appears. Since the first layer is in the middle and contain mainly dark colours, everything will appear in those areas on the second layer that were erased. Go back to the first layer to add/draw the reflection of the moon in the water using the Ink Picker Tool and Airbrush Tool.
.jpg) |
| Before |
+1+(Final+-+Merged).jpeg) |
| After |
The next image was edited using the Rectangle Select Tool to select the image and the Crop Tool. Then use the Ink Picker Tool and Airbrush Tool to edit/clean up some part of the image, for example, the greyish blue on the wood just below the Panda's head. The four lines of text were actually made up of 4 layers that were automatically created for me when I select the Text Tool (the icon with capital 'A' on the left). With the Text Tool selected, you can insert text and edit the fonts and colour of the text. Please note that the red 'lightning and period' is drawn in the fourth layer with the text 'RECHARGE' using the Free Select Tool (the icon that looks like 'rope' next to the Eclipse and Rectangle Select Tool.

.jpg)
Before After
From the practice above, it is quite evident that some tools are used more often than others. The rest is up to individual practises in mastering the GIMP software as well as artistic preferences and form. The GIMP software can be used to produce works of art such as oil paintings and even photograph-like images, if one has the skill.
~ 9 June 2014 ~

.jpeg)
.png)